
When most people think of coffee, it's made on a machine like this

Stationary in most households and used several times a day.
What many people don't know, is that it's possible to enhance the quality many times by following some simple and easy steps.
The single most important of all things is, fresh coffee that's freshly ground. There's nothing that's more important than that, if you want the best cup from your coffee maker. Doesn't mater if it's a cheap or super expensive machine. It's fresh coffee that maters. A coffee grinder doesn't have to be expensive. As long as it's a burr grinder, then your better off than pre ground coffee.
A bur grinder has two burrs that crush the beans in a size of your choice. Most cheap grinders has a blade, that blends the beans. This type of grinder/blender is not good enough. The partikels will end up in many different sizes, leaving you with an uneven extraction of the coffee.

A bur grinder has two burrs that crush the beans in a size of your choice. Most cheap grinders has a blade, that blends the beans. This type of grinder/blender is not good enough. The partikels will end up in many different sizes, leaving you with an uneven extraction of the coffee.

Blade grinder
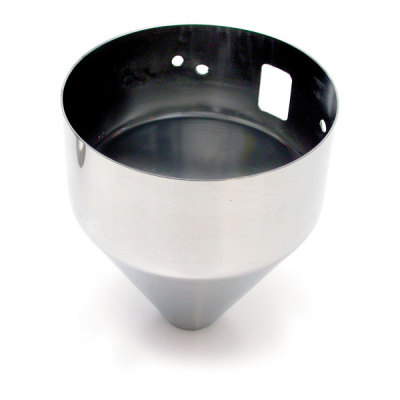
Burr grinder
Some people just want their morning fix without weighing and grinding coffee. We understand that as well.
In that case there are other ways to improve your coffee. These steps should be done if you grind your own coffee as well.
Use bottled water. It may seem ridiculous to buy a bottle of water to make some coffee, but there are more than one point to this.
- You will end up with a better and more clear taste in the cup.
- It will spare your machine for a lot of scale, and a lot of descaling
- If you choose not to use bottled water, make sure you pour water on from a clean pitcher, and not from the machine pitcher. Explanation further down in the post.
When your brew is finished, drink it within 20 minutes, or pour it to a thermos, when it's on the heater the aromas quickly go harsh and bitter.
With any kind of coffee brewing, clean equipment is of great importance. Coffee oils are bitter, and as they build up, they will leave a bad flavor.
Clean your machine every two month if you are sure no oils are in the water. Clean every week if you use the coffee pitcher to refill water. Every two weeks you should clean the pitcher and all plastic parts, that's in contact with coffee. Descale every week if you dont use bottled water. With bottled water every third month should do.
To clean the machine, use Urnex Cafiza. It's a soap made especially for coffee oils.
Just add 3-5 gr to the water in a full reservoir, and turn the machine on. When it's done, repeat three times with fresh and clean water and end the session with a pot of coffee, which you then pour to the sink. Now your machine is clean, and ready to make the best coffee possible.
Just made a photo session from a cleaning of the coffee machine at my workplace. It has never been cleaned with Cafiza - just regular soap once in a while.

.JPG)
.JPG)


 Before Cafiza
After Cafzia
This picture displays the main issue with using the coffee pitcher to fill the reservoir. Everytime you fill the pitcher and pour it in the reservoir, a small amount of coffee and coffee oils ends up in the reservoir, and will build up in the system as the coffee brews.
Build up coffee oils in all the plastic parts, and in the pitcher can'd be avoided. But it can be taken care of.
5 grams of Cafiza in the reservoir with 1 liter of boiling water, I cleaned the reservoir with this batch and made a new one to run thru the machine.
5 grams of Cafiza with 1 liter of cold water in the reservoir and turn the machine on. The reservoir were clean before the solution ran thru, so this color is made by oils from inside the machine.
First round of clean water
Third round if clean water. Notice the pitcher is completely clean now.
After Cafzia


.JPG)
.JPG)
.JPG)
.JPG)


.JPG)


.JPG)
.JPG)


